
The first time I learned something about flower arranging was when I was a teenager. I walked past an episode of Oprah where she was featuring a florist. The next time my mom brought home a bouquet from the grocery store I mentioned, “Oprah says you should criss-cross the stems to get them more water.” My mom, to her credit, told me I was on to something and from then on out always let me arrange any flowers we had.
Over the years I’ve picked up a few things here and there, most of which came from my mother-in-law who makes the most beautiful arrangements and has done so for formal events (including for President Biden!), and my aunt who makes some of the most beautiful and visually interesting arrangements I’ve seen!

How to Start Flower Arranging
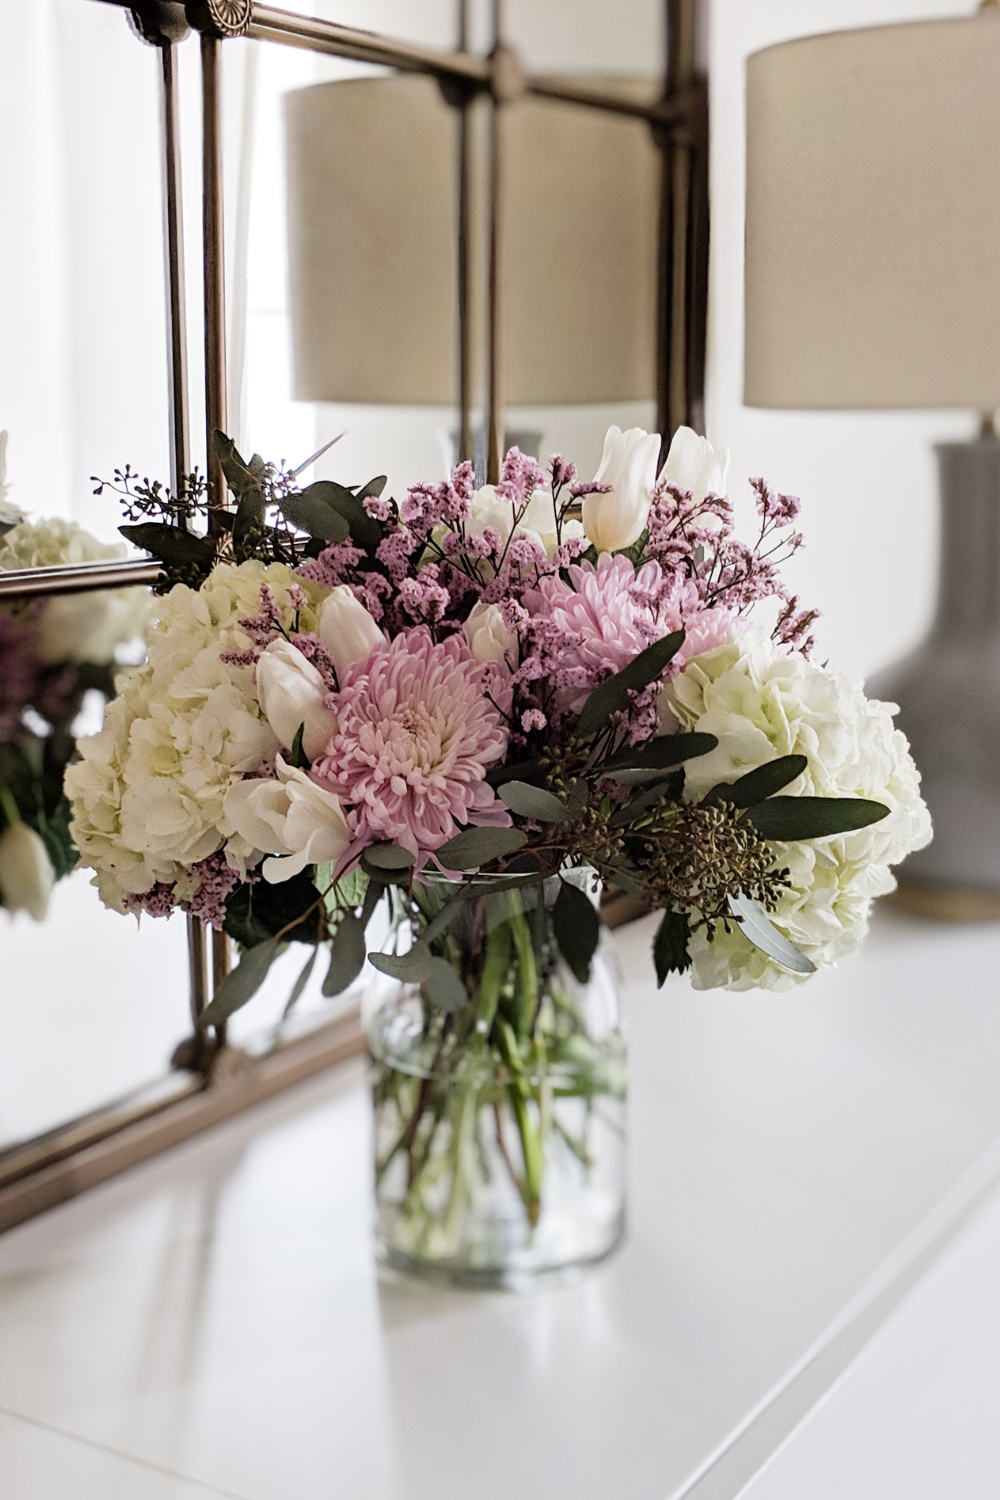
If you’re new to floral arrangements here’s my No. 1 tip: make it monochrome. Whether you’re using artificial or real flowers, if you include different varieties of the same color flower, it will always look chic. Here’s my formula:
- 1 type of bigger statement flower
- 2 supporting flowers (a bit smaller in size than the statement flower)
- 2 types of filler flowers for dimension and height
- 1-2 types of greens
Off the top of my head, here’s how that might shake out on my next Trader Joe’s/ hobby store run if I were making an all-white bouquet:
- Hydrangeas
- Tulips and ranunculus
- Baby’s breath and hypericum berries
- Eucalyptus
Can’t you just picture it? All white, or all yellow, or all pink -- if you’re feeling nervous I promise you’ll look like a pro with a monochrome bouquet. And then when you’re ready to venture out, keep it a bit neutral (think creams and blushes and more muted colors), and then from there go with complementary colors. I like to think of it like this: If the colors would look coordinated on a bed or a couch, you’re probably good to go.
What you need for flower arranging
When it comes to flower arranging, what you need is relatively simple: you need a container, flowers, and scissors. Oh, and water of course. But there are some other things you can add in that will make your life easier. Let’s break it down by tiers:
Minimal:
- Vase or container (you can use a plastic container and put it in something like a basket that normally wouldn’t hold flowers)
- Scissors to trim the bottoms
- Flowers!
Suggestions:
- Flower food (You can make this yourself if you want to with 2 tablespoons lemon juice + 1 tablespoon sugar + 1/2 teaspoon bleach. You can also do a 1:3 ratio of Sprite to water with a few drops of bleach)
- Tape
- Hot glue (for artificials)
For the pros:
- Chicken wire or floral foam
- Floral shears
- Craft water (artificials)
What are some key tips when arranging flowers:
Tip 1: If you’re just getting started, I’d encourage you to try my backward bouquet method. Normally a florist starts with the greenery and then fills in from there (typically from the smallest to biggest flowers). When I was first playing around with flowers, I decided to try to reverse engineer this, and thus was born: the backward bouquet.
For this I start with my statement flower, then the secondary or supporting flowers, then the accents, then the greenery. I know it’s not the “right” way, but it really helped me to get a hang of arranging because I could see those big flowers working together. The traditional way was difficult for me because I couldn’t figure out how it was supposed to look in the end.
Once I got the hang of arranging, I did learn to do the bouquet the “right” way. You can see a full tutorial from our Winter 2021 floral bowl here.
Tip 2: My second tip (for now!) is to be mindful of the shape. Look at your vase or container and especially at the greenery and accent flowers. What do they lend themselves to? Are they droopy? Full? Both?! Are they structured? Strong? Flouncy? Work with it! Don’t be afraid of asymmetry. And remember, you can always go back and edit. Nothing is permanent.
Tip 3: Don’t be afraid to keep it simple if you’re just starting out or want to have more of a statement piece. Sometimes a vase filled with big, fluffy hydrangeas, or full sunflowers, or delicate tulips, can pack such a punch. Sometimes less is more, you know?
Ready for more?
Okay, here are some very practical pro tips for when you are actually creating your arrangement:
For artificial arrangements:
- After they are cut to length, make sure you hot glue the bottom of your florals so they don’t rust out if they hit moisture!
- You can still use floral foam! I recommend it for beginners over chicken wire because you have a bit more control over it.
- Don’t forget to fluff your flowers. You can generally manipulate artificial flowers a bit, so definitely take a minute to make sure they are looking their fullest.
- Consider using craft water -- an artificial water that can be used in a clear vase to mimic the look of real water. Both our tulip and magnolia arrangements use craft water. Craft water typically drives up the price of a product bought at a retailer by at least $100, so learning how to DIY this is hugely cost effective.
For real flowers:
- If you use floral foam, soak it in water for at least 3 hours. This allows it to get fully saturated and keeps your flowers alive longer! Just make sure you still change out the water daily. You can use a funnel if your container is a bit tricky. Fill the water up to the top of the container, not just the bottom half like you might if your flowers were just in a regular vase.
- Instead of floral foam, you could also use chicken wire or a floral frog. Both are much more sustainable! They can be used over and over (but they do take a bit of practice)!
- Always trim your flowers under warm water, at an angle. This allows for the best moisture absorption/ getting air bubbles out.
- If your flowers are looking wilted, change the water out for hot water but then put them into a cool fridge for a few hours. The hot water will open up the stems for absorbing water and nutrients, and the cool will keep the petals fresh.
- Remember to remove any leaves that would fall below the water line! Leaves in the water will just introduce bacteria and result in your flowers dying more quickly.
- USE THE FLOWER FOOD!!! Don’t discard the packages they give you. And if packets aren’t provided, it’s so easy to make your own. Flower food can easily double the life of your flowers.
- Get rid of dead flowers, but keep the good ones. If that means moving them to a smaller vase to enjoy them a bit longer, I always think it’s worth it.
Regardless of the methods, you try, remember, no one is bound to get it totally right on the first go-around! Keep trying! Flowers, fresh or artificial, are bound to brighten your mood and your space!